This is the first step in completing your Sertifi for Salesforce Lightning installation.
To download and install the app to your Salesforce account:
- Click
from your Salesforce Lightning account.
- Click Setup from the dropdown menu.
- Navigate to Platform Tools > Apps > AppExchange Marketplace from the left-hand navigation.
- Enter Sertifi in the quick find bar.
- Press Enter.
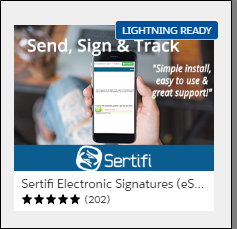
- Click the Sertifi Electronic Signatures icon from the search results.

- Click Get It Now at the bottom of the Sertifi for Salesforce app screen in the app exchange.
- If prompted, log into the AppExchange.
- Click Allow in the AppExchange login popup.
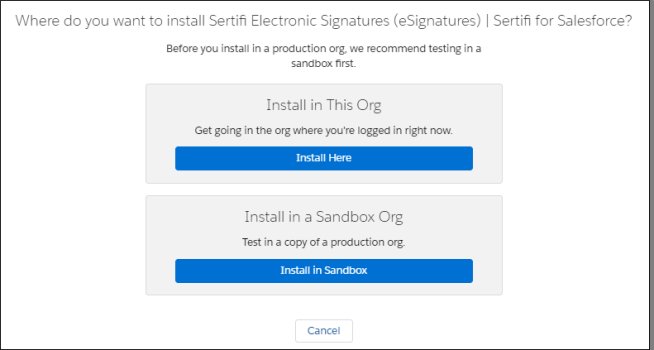
- Click Install in This Org or Install in a Sandbox Org depending on where you want to install the Sertifi app.
- Select that you agree to Terms & Conditions in the Confirm Installation Details popup.
- Click Confirm and Install.
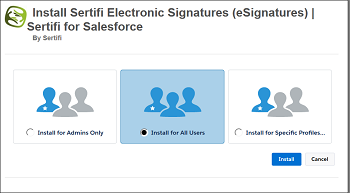
- Click Install for All Users, and then click Install.

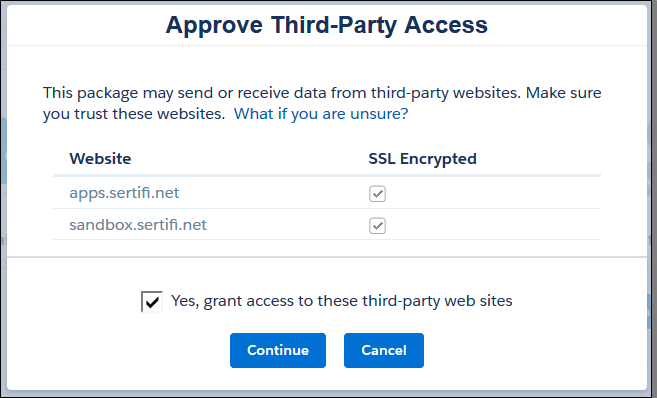
- Select Yes, grant access to these third-party web sites, and then click Continue.

If your installation takes a long time, you’ll receive an email when installation is complete. Sertifi appears in your Installed Packages section of Salesforce.
Next Step
Once you complete this phase, you can move on to creating you backend portal. For more information, see Creating your backend portal.

